A Step-by-Step Guide to Creating Foley Sound Effects


Introduction to Foley Sound Effects
Foley sound effects are an essential part of creating an immersive audio experience in film, television, and even video games. These sounds are created in a studio environment and replicate everyday noises that enhance the realism of a scene. Whether it's the rustle of clothing or the clinking of silverware, Foley artists bring scenes to life with their creativity and skill.

Understanding the Basics
Before diving into creating Foley sound effects, it's important to understand the basics. Foley is typically recorded in a specialized studio with various props and surfaces that can replicate different sounds. The goal is to produce sounds that match the action on screen, providing a seamless auditory experience for the viewer.
Foley is divided into three main categories: footsteps, movement, and specifics. Each category focuses on different sound elements, and mastering them requires both creativity and attention to detail.
Gathering Your Tools and Materials
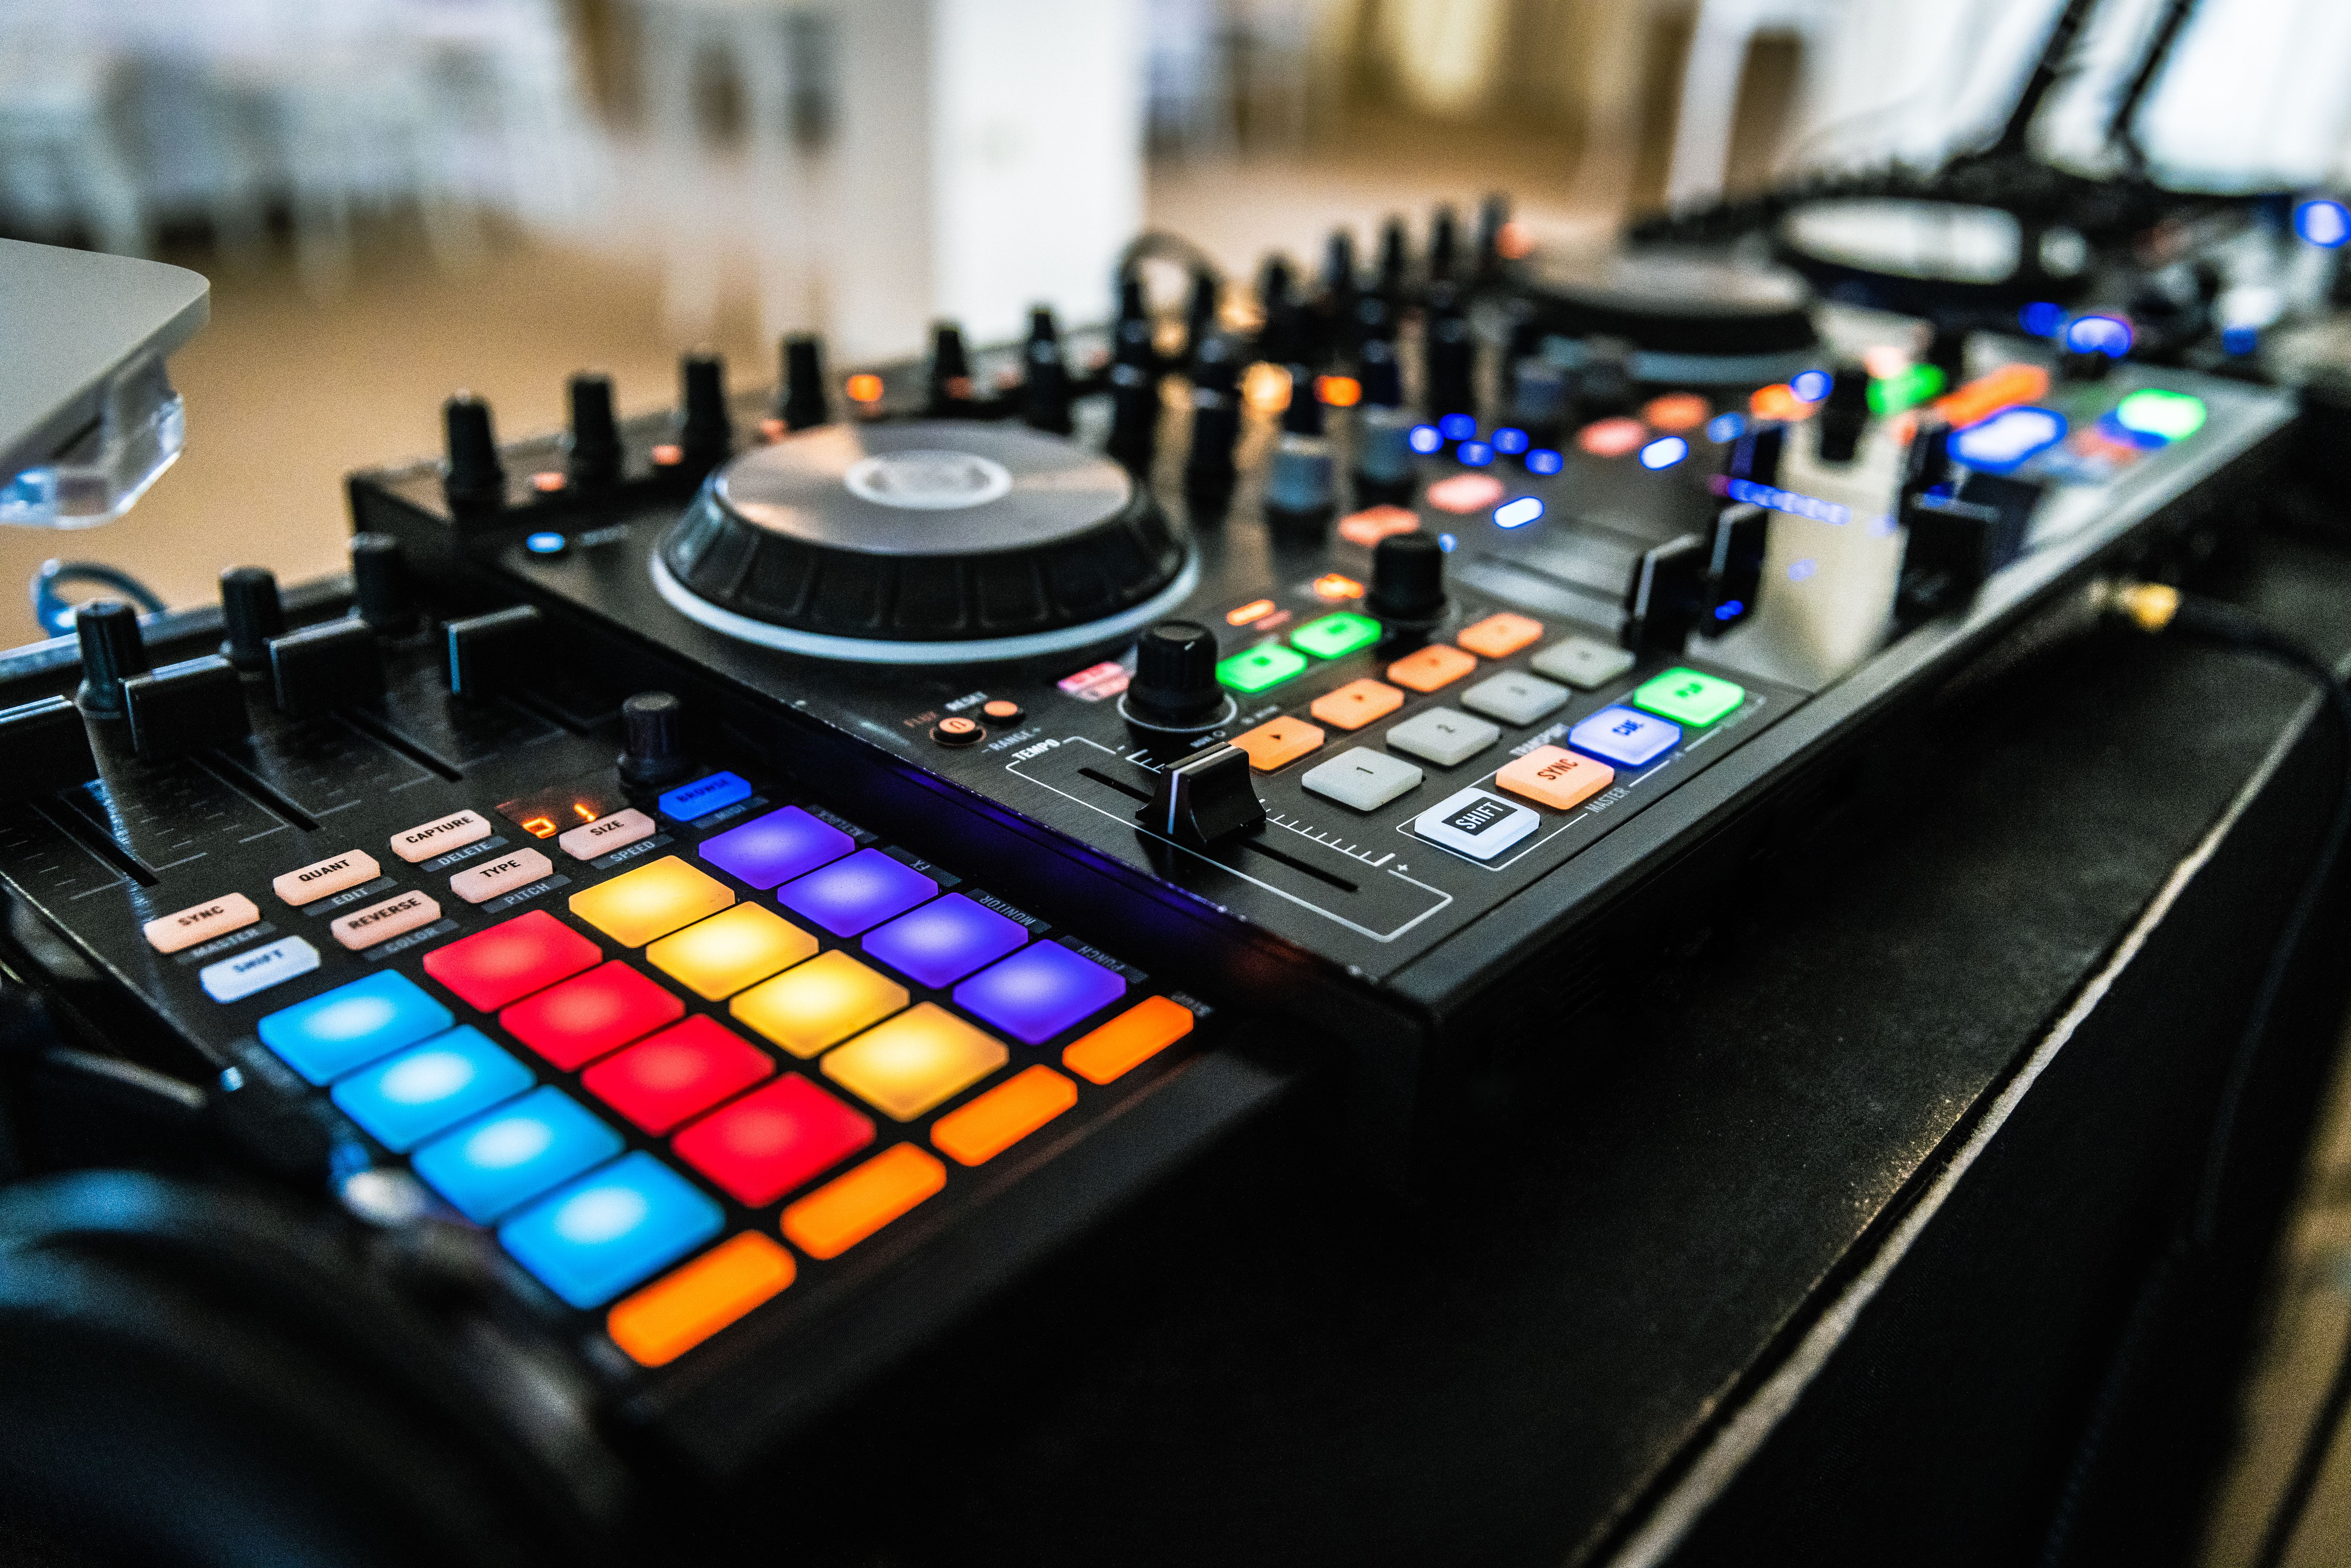
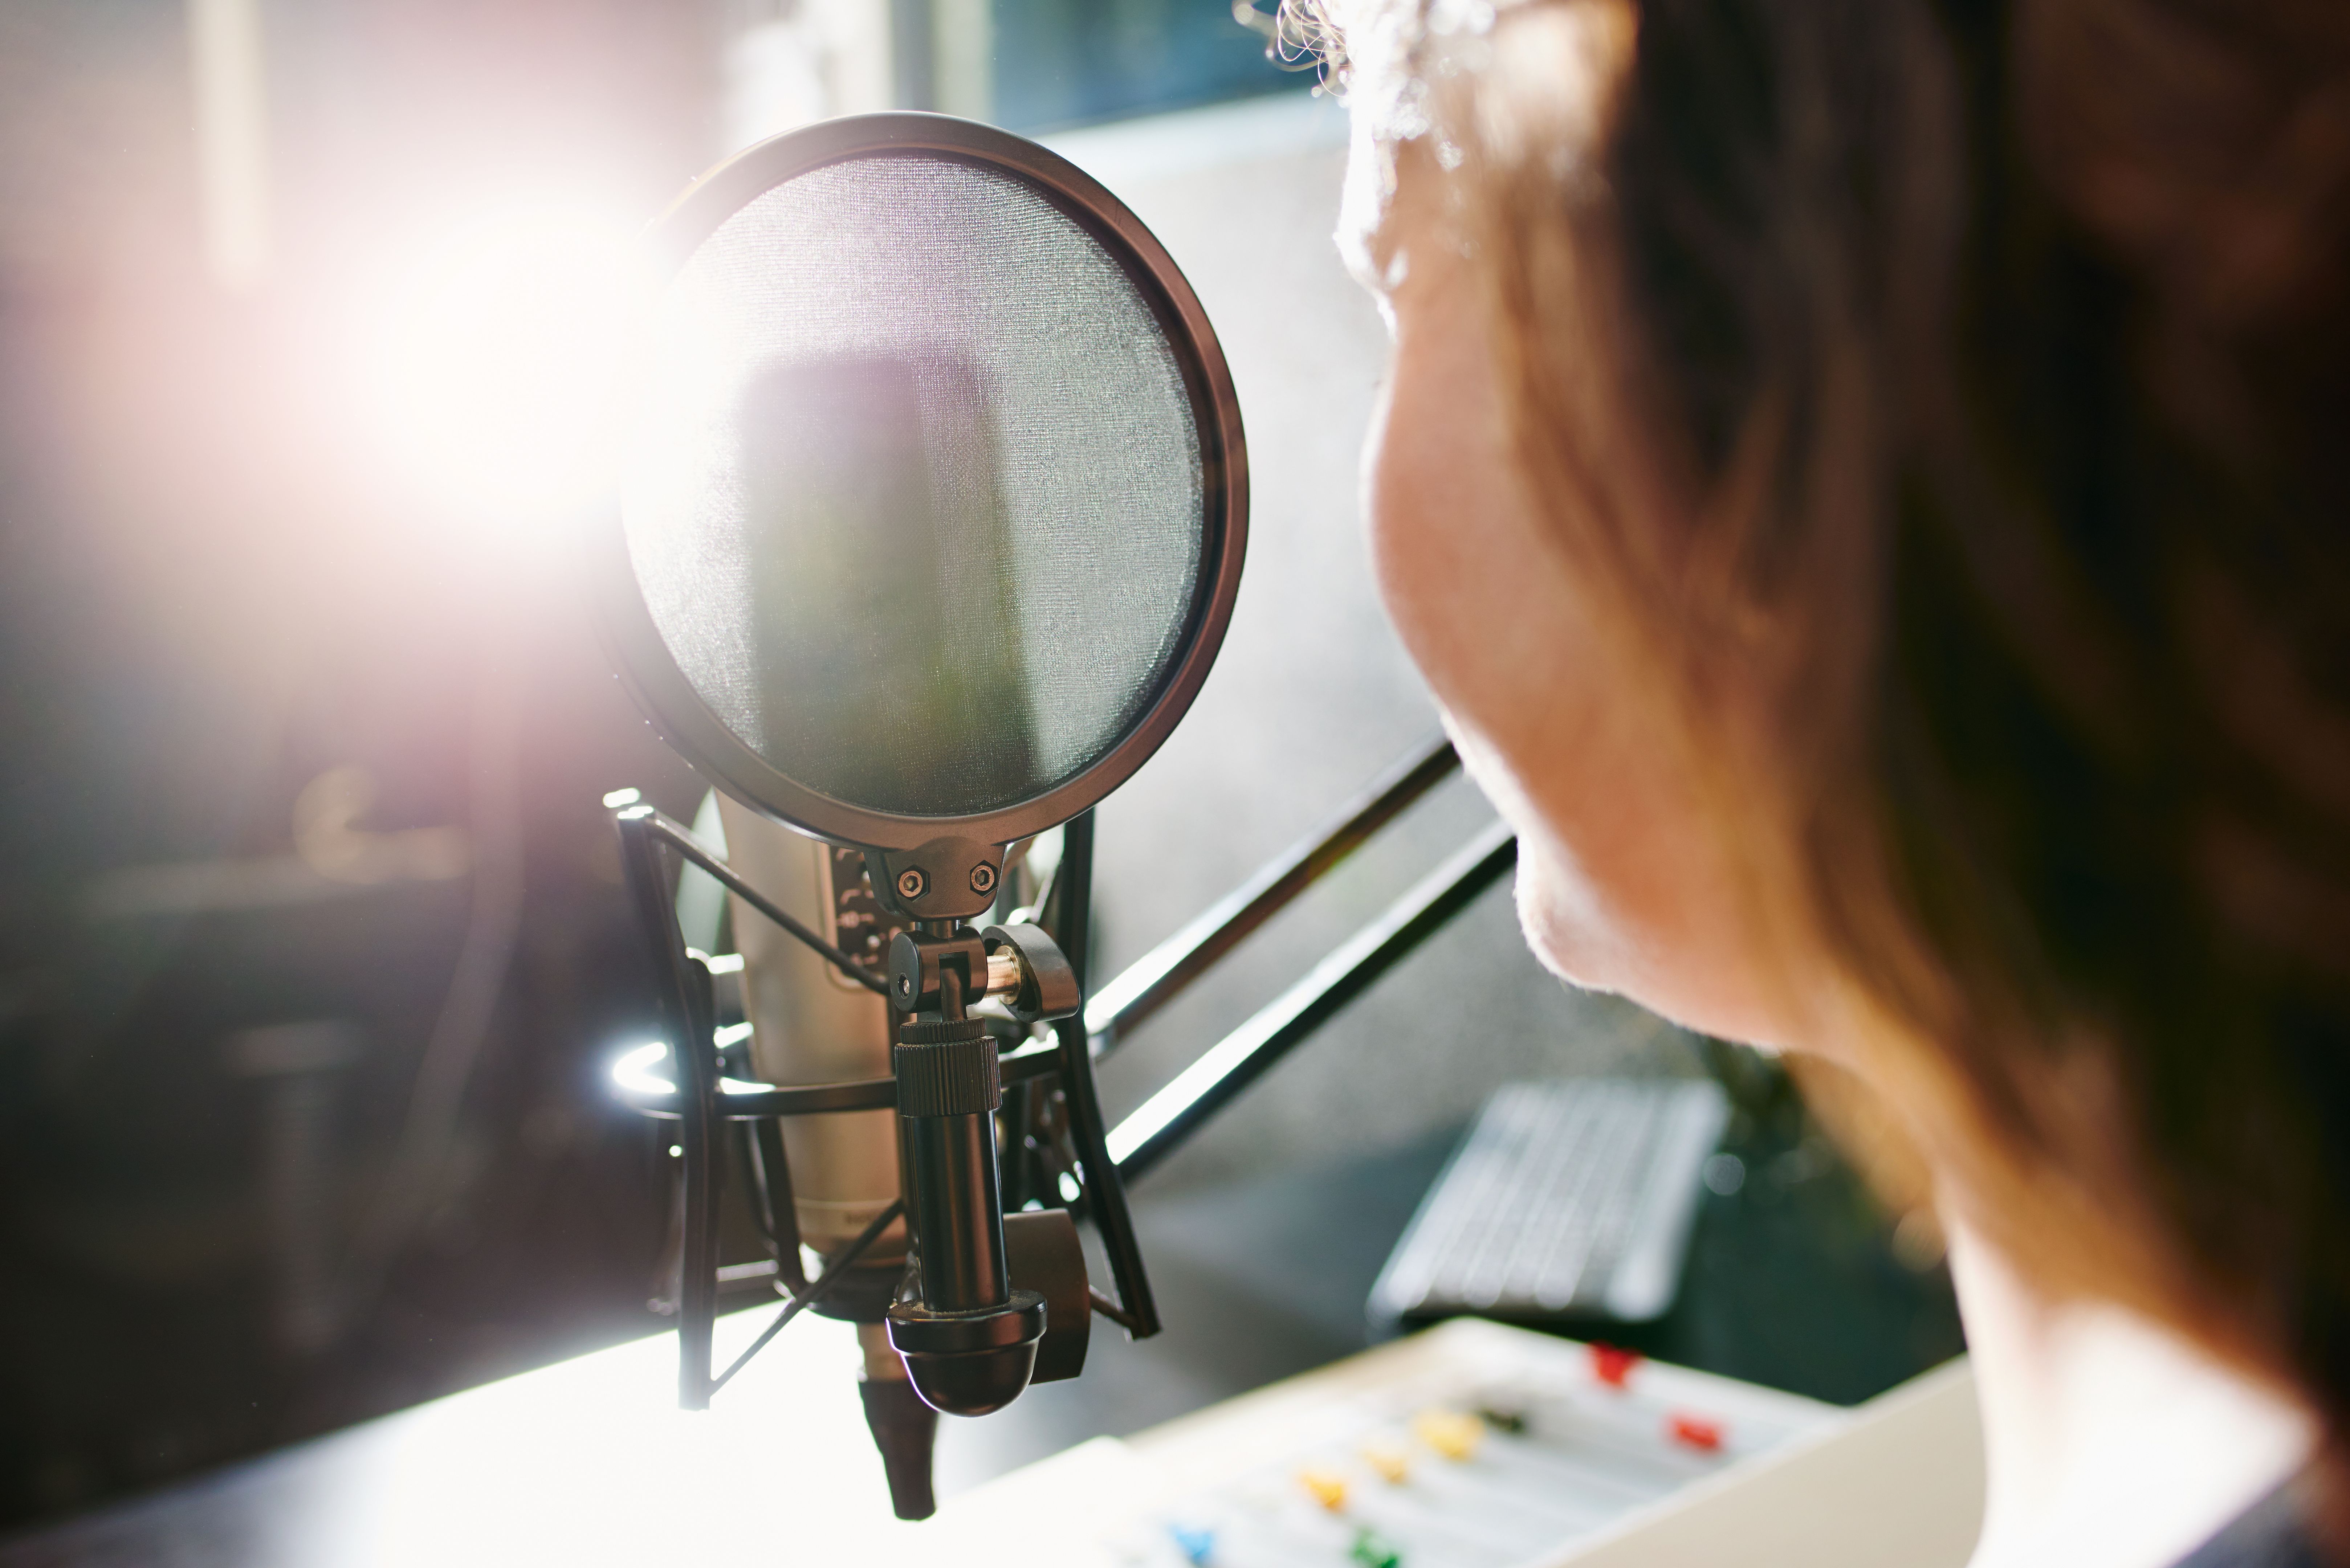
To start creating Foley effects, you'll need a few essential tools and materials. A high-quality microphone is crucial for capturing clear and realistic sounds. You'll also need a digital audio workstation (DAW) for recording and editing your sounds. Finally, gather a variety of props that can create the desired effects—think shoes for footsteps, cloth for rustling, and various surfaces for tapping or scratching.
Setting Up Your Foley Studio
Setting up your Foley studio is a crucial step in the process. Choose a quiet space where you can control the acoustics. Arrange your props and materials within easy reach to streamline your workflow. Ensure that your recording equipment is set up correctly, and test your microphone to achieve the best sound quality possible.
A well-organized studio will not only make your work more efficient but also inspire creativity as you experiment with different sound effects.
Recording Your First Foley Sounds
Once your studio is set up, it's time to start recording. Begin by watching the scene you're working on to understand the timing and type of sounds required. Use your props creatively to mimic these sounds as closely as possible. It's important to record multiple takes to ensure you capture the perfect sound.

Editing and Synchronizing Your Sounds
After recording, the next step is editing your Foley sounds. Use your DAW to cut, splice, and enhance the recordings. Pay close attention to the synchronization of sounds with the on-screen action—this is what makes Foley truly effective.
Consider adding effects like reverb or equalization to improve the sound quality or match the acoustics of the scene.
Finalizing Your Foley Sound Effects
Once editing is complete, review your work to ensure that all sound effects are perfectly synchronized with the visuals. Make any necessary adjustments and consider obtaining feedback from others to refine your work further.
Achieving professional-quality Foley requires practice and patience, but the end result is a more engaging and realistic audio experience for audiences.
Conclusion
Creating Foley sound effects is both an art and a science. It requires creativity, technical skill, and a keen ear for detail. By following this step-by-step guide, you'll be well on your way to producing high-quality Foley sounds that enhance any production. Remember, practice makes perfect, so keep experimenting and refining your techniques.